Beginner guide
Buy the three default hack tiers first, keep modules on one weapon, and use the tether. Most new runs end by standing still to aim, spreading modules across two guns, or never throwing debris.
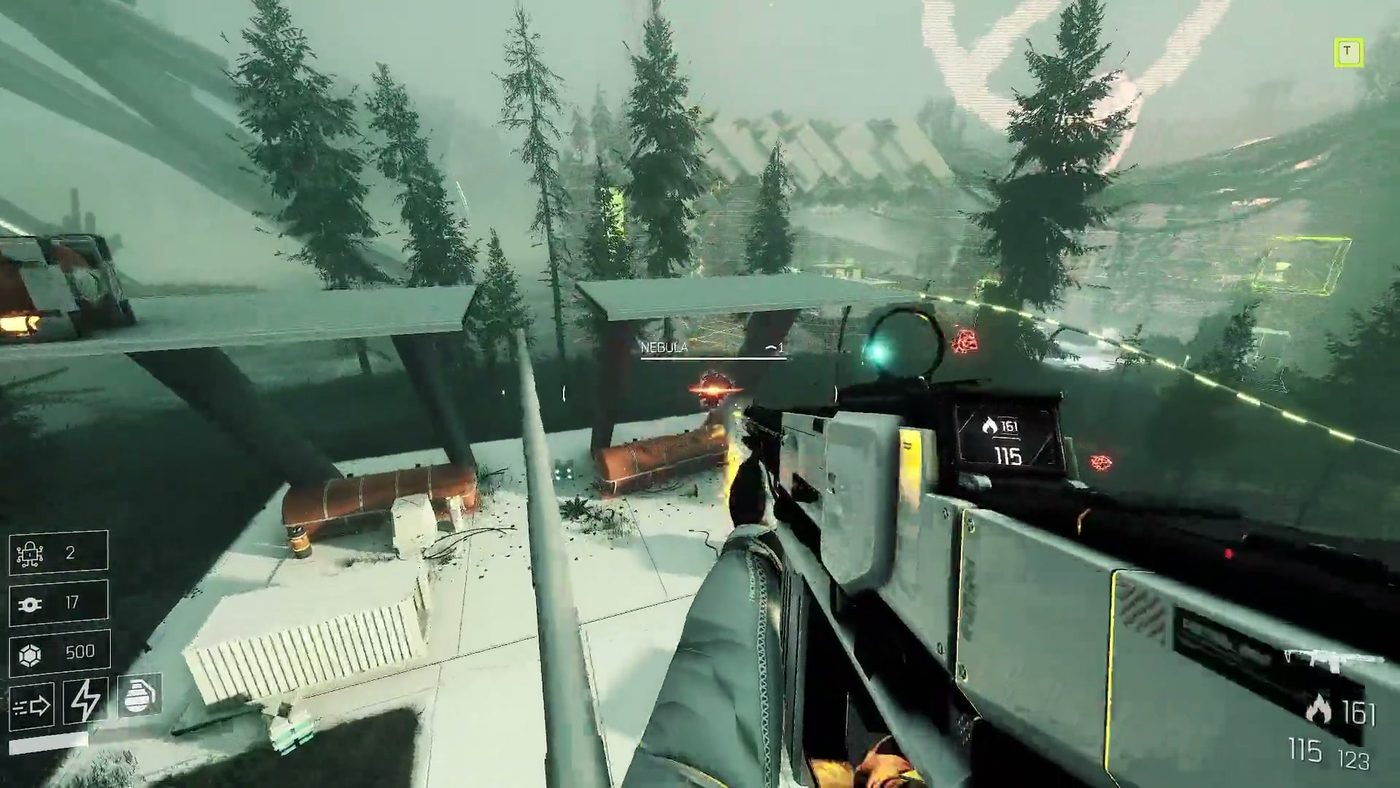
The first two hours of VOID/BREAKER are the hardest part of it, and the tutorial is not the reason. The tutorial teaches stagger, destruction and health pickups. What it does not teach is which modules are worth taking, when to leave an arena, and why your third run keeps dying in the same place.
Before your first run
Open the hacks screen in the hub. Three hack upgrades are unlocked by default, which means you can buy their first tiers immediately without spending a decryptor. Spend the Voidium you start with there rather than on a shop reroll you do not need yet.
The assault rifle is bought with Voidium, not decryptors, and has been since the September 2025 patch. That was a deliberate early-game fix: the first weapon upgrade should not compete with permanent progression.
The order that works
| Priority | What to do | Why |
|---|---|---|
| 1 | Buy first tiers of the three default hacks | Cheap, permanent, and they apply to every future run |
| 2 | Learn one weapon's stat spread | The modification screen rewards depth over breadth |
| 3 | Take one damage module and one survival module per run | Two strong effects beat four weak ones |
| 4 | Bank Voidium for the Recycler hack | Recycling junk modules is the main credit source mid-run |
| 5 | Unlock the schematics you find rather than hoarding them | Schematics only pay off once researched |
Four deaths that are not the game's fault
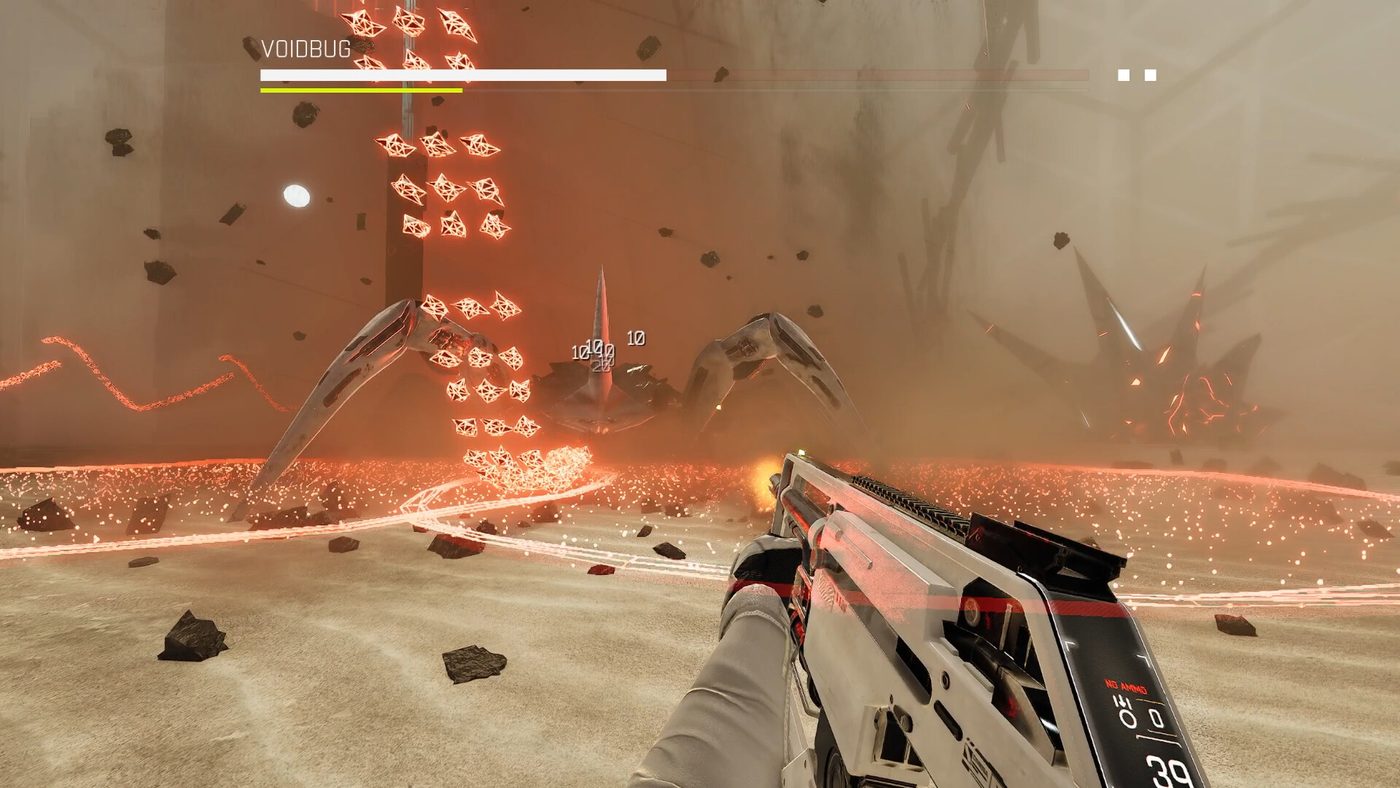
Standing still to aim. Aiming down sights is available, and there is even a toggle for it, but the game is built around momentum. If you stop to shoot, you eat a bullet pattern. Fire while moving, use the slide to break line of sight, and treat ADS as a tool for one specific target rather than a default stance.
Ignoring the gravity tether. The tether is bound to the interact key by default. It picks up debris, and debris is both a weapon and a stagger tool — boss attacks release tetherable debris specifically so you can throw the boss's own arena back at it. Players who never touch the tether are playing a harder game.
Spreading modules across three weapons. Slots are limited and modules are lost at the end of a run. Concentrating them on the weapon you actually use produces a build; scattering them produces three mediocre guns.
Fighting every optional room. Fragmented zones are optional side areas, and they are worth entering for schematics — but the arena's reward preview exists so you can decide before you commit. A run that dies at 80% completion with nothing researched is worse than a run that skipped two rooms and banked the credits.
How stagger actually works
Staggering is the game's core interrupt. Enemies that take enough damage in a short window break, and while broken they cannot attack. The ASCENSION tutorial rework made this explicit: one tutorial section now requires you to reach full health first, which is the game's way of saying that stagger is a health-management mechanic, not just a damage one.
The grenade has a slight stagger effect on its own. The dash has invincibility frames — the tutorial now includes a section that forces you to dash through a wall of projectiles to demonstrate it. Both are worth practising in the first zone rather than discovering in Zone 04.
Zone 01 specifically
Zone 01 has an elevator shaft that received visual improvements in the ASCENSION update, and it has at least one point of interest whose schematic was unreachable without the grapple before a fix in June 2026. If you see a schematic you cannot reach, check whether you have the grapple unlocked before assuming the game is broken.
Elite enemies appear more often on normal difficulty since ASCENSION, and enemy armour health came down in the same update. The practical result is that normal difficulty is less about tanky enemies and more about crowded arenas.
What to read next
The gun modding page explains the module categories and rarities, which is the single biggest lever on how a run goes. The bosses page covers each gate fight, and the achievements page lists the conditions so you know which ones you are accidentally close to.
The first boss is a tutorial in disguise
GRAVAXIS is the first gate, and it teaches the two things the rest of the game assumes: that boss attacks leave debris you can tether, and that a boss can be staggered out of its own pattern. HARD RESET reduced GRAVAXIS's movement and improved the readability of specific attacks, which is the developer admitting the fight was doing too much at once.
The practical approach: stay mobile, use the arena's debris rather than your magazine for the heavy damage windows, and treat the stagger as a defensive tool when you are cornered rather than a damage multiplier you chase.
What not to spend Voidium on
Two purchases are traps for new players. Shop rerolls are cheap and addictive, and rerolling three times for a module you will lose at the end of the run is worse than banking the credits for a permanent tier. Weapon skins are the other one: the weapon skin terminal exists from Early Access launch, and it is cosmetic.
The exception is the Recycler hack. It pays for itself within a few runs because it converts modules you would otherwise leave on the floor into credits, and its additional tiers improve the rate.
_Figures checked 4 November 2026 against official Stubby Games patch notes and the Steam store page._